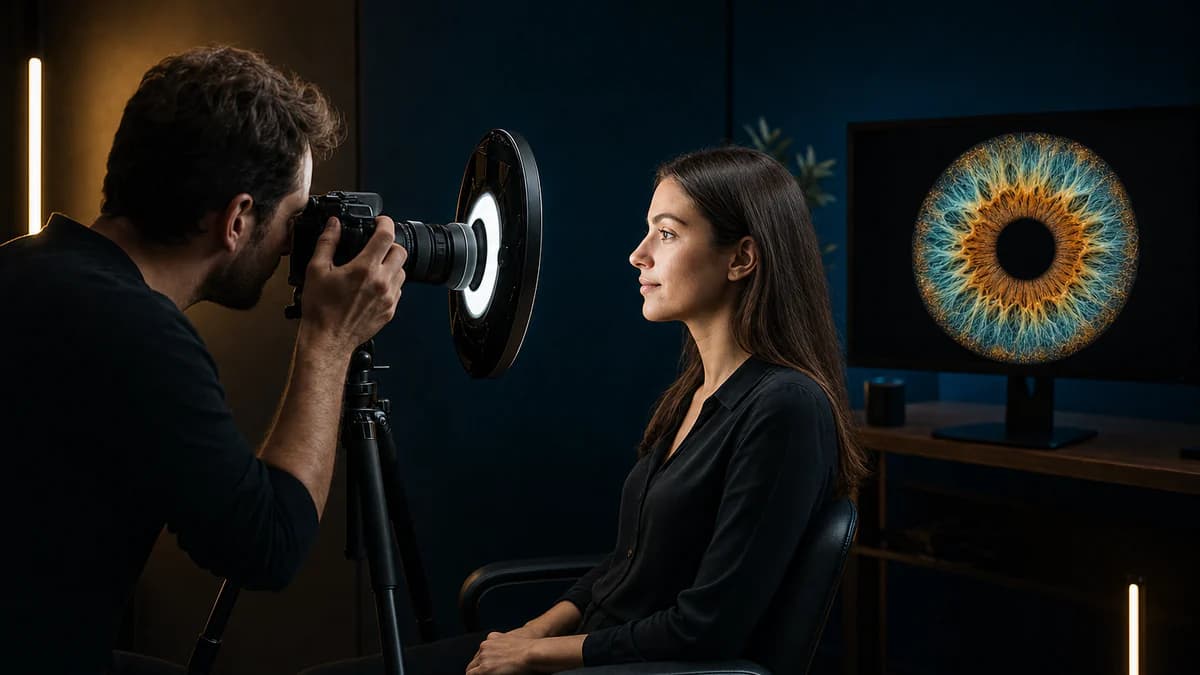
What Is Iris Photography? From Eye Photo to Art
A practical introduction to photographing the visible color and texture of the iris.
Start with a phone by a window or build a repeatable professional setup. These practical guides explain the capture, equipment, lighting and editing choices without treating an art photograph as a medical image.
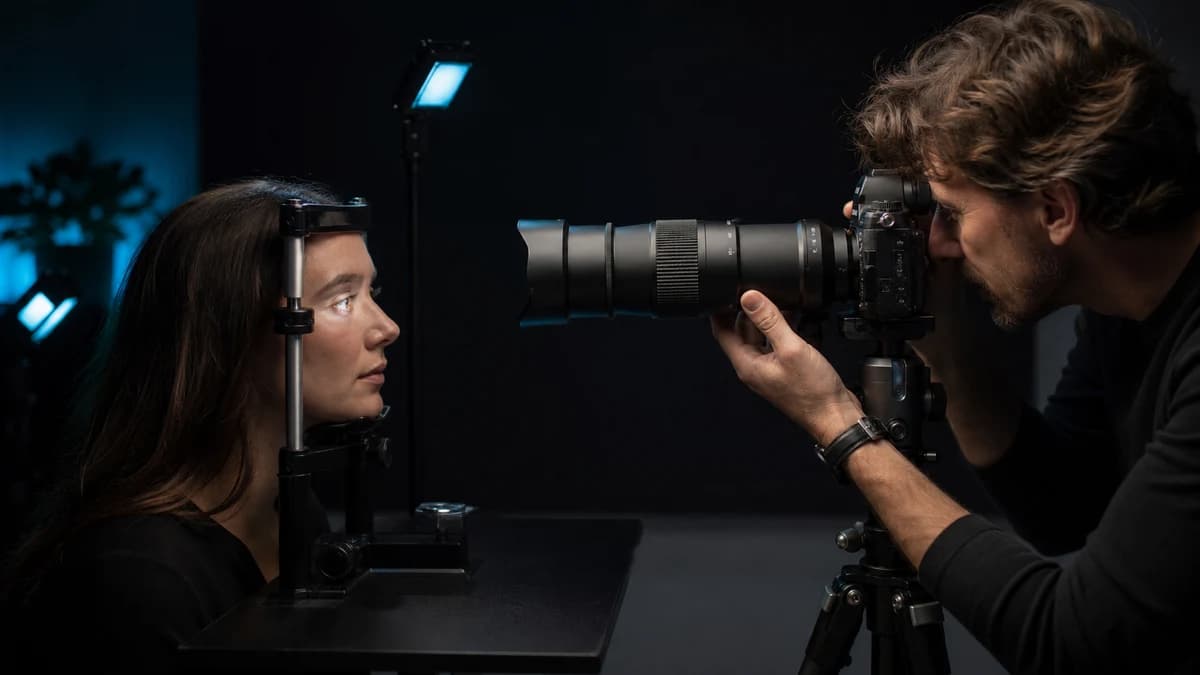
You do not need professional equipment to begin, but the right workflow depends on what you want to make.
Work through the series in order, or jump to the part of the workflow you are improving now.
A practical introduction to photographing the visible color and texture of the iris.
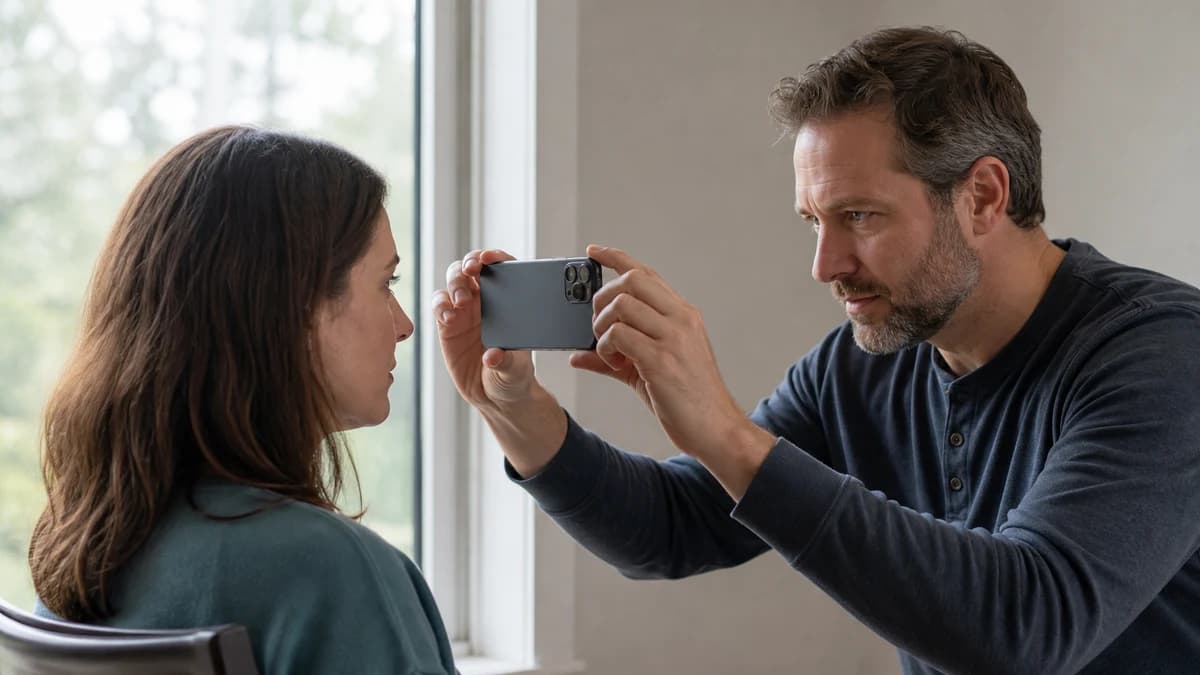
A careful, no-special-gear method for a clean close-up eye photo.
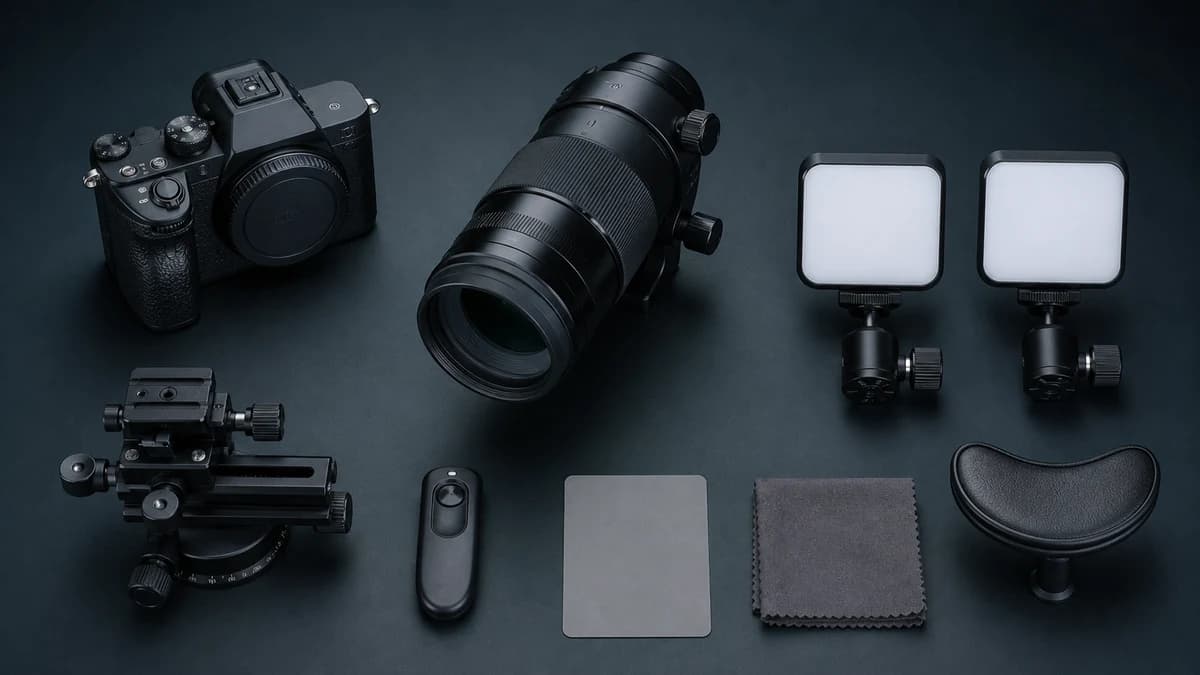
Choose equipment by the problem it solves, from first macro setup to client studio.
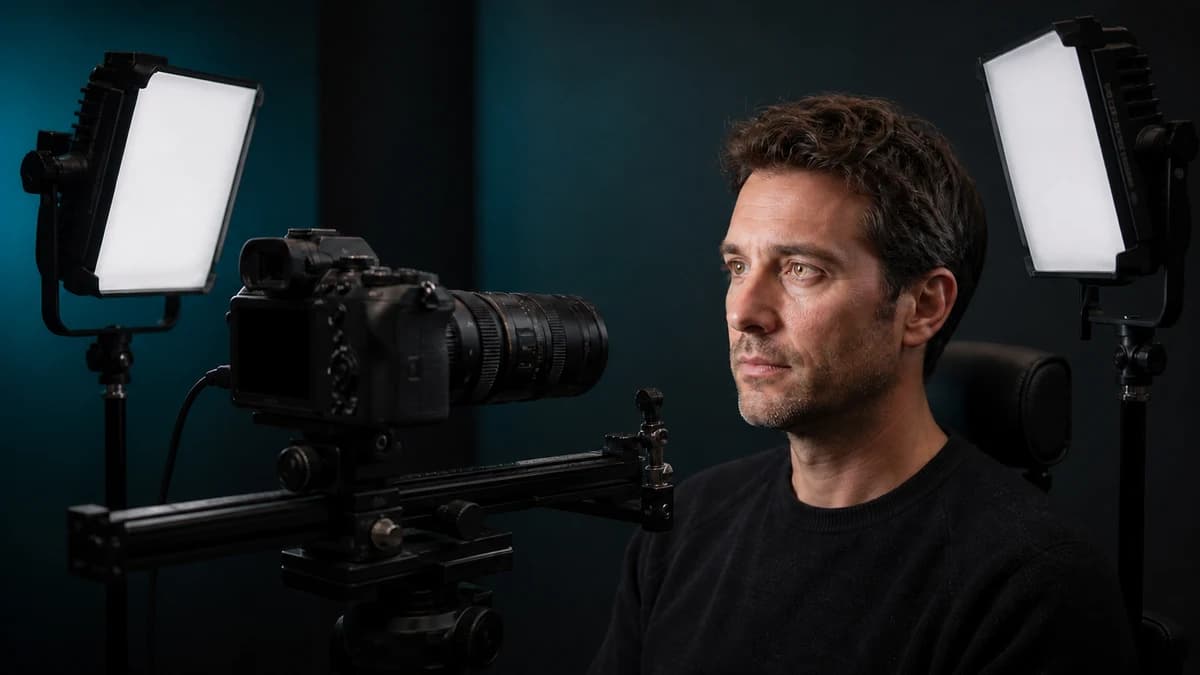
Repeatable starting points for sharp texture, controlled reflections and consistent color.
The tools change between a phone and a studio, but the quality controls stay remarkably similar.
Stabilize the camera and subject, focus on iris texture, and take several frames rather than trusting one shot.
Use comfortable, manufacturer-approved lighting, watch reflections and keep white balance consistent across a session.
Remove distractions and shape the artwork while keeping skin, pupil edges and iris texture believable.
Use a close-up eye photo to explore visible color percentages and create a shareable Iris Card. Processing stays in your browser.
Analyze my eye colorIris Studio helps professional photographers measure visible color, prepare branded reports and export iris artwork for clients.
Explore Iris Studio