
Iris Photography Equipment: What You Actually Need
Choose equipment by the problem it solves, from first macro setup to client studio.
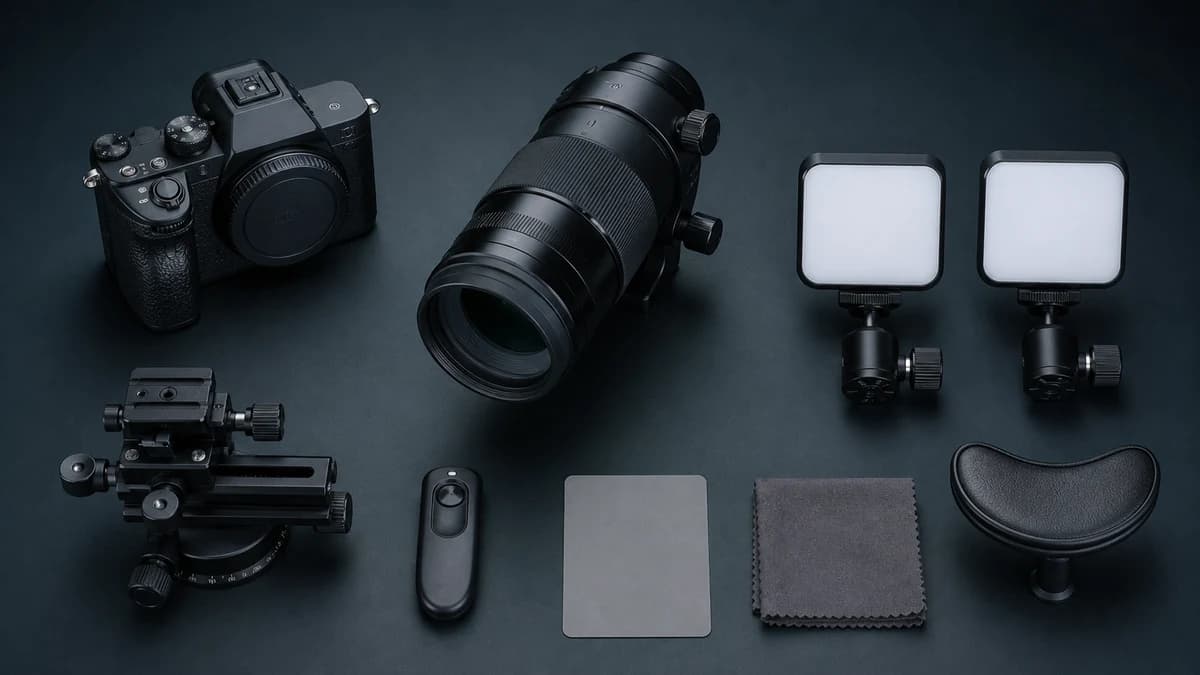
The five jobs your setup must do
A useful iris photography setup does five things reliably: focuses close enough to resolve texture, holds camera and subject steady, lights the iris predictably, controls color and moves files into an efficient editing workflow.
A more expensive camera cannot compensate for unstable positioning or inconsistent light. Build the system around repeatability before chasing resolution.
- Resolve fine iris texture at close focus
- Maintain a consistent camera-to-eye distance
- Place reflections where they obscure less detail
- Keep color and exposure repeatable
- Capture, back up and edit files efficiently
Camera and macro lens
An interchangeable-lens camera with reliable live view or tethering is convenient, but sensor size matters less than lens quality, working distance and focus control. Choose a true macro lens that reaches the magnification you need while leaving enough room for lighting and client comfort.
Manual focus is often useful at macro distances because tiny movements shift the sharp plane. Autofocus can help you get close, but final focus should be checked at high magnification on the iris texture.
Stability and subject positioning
A sturdy tripod or copy-stand style support removes camera movement. A focusing rail lets you move the whole camera by millimeters without changing composition. A remote release or tethered shutter prevents a button press from disturbing the setup.
For client work, a height-adjustable chair and a cleanable chin or forehead support can improve consistency. Positioning equipment should guide posture gently; it should not put pressure on the eye.
Lighting and reflection control
Continuous LED and flash systems can both be used in macro photography, but they create different comfort, exposure and reflection tradeoffs. Choose equipment intended for photography, follow its manufacturer instructions and test the setup at conservative output.
Diffusion changes the shape and hardness of catchlights. Adjustable light positions are often more useful than a fixed ring because they let you move reflections away from important texture. Never improvise with lasers, ultraviolet sources or unverified high-output lights.
Color and file-management tools
A neutral gray card or color target helps establish a repeatable reference at the start of a session. A calibrated monitor is valuable when print color matters, and shooting RAW preserves more adjustment latitude than relying only on camera-processed JPEGs.
Plan storage before client volume grows: consistent file names, a working drive, a separate backup and a documented retention policy. Treat eye photographs as personal client media and collect clear permission before portfolio use.
Three sensible setup levels
Start at the level your output requires and upgrade the bottleneck you can actually see.
- Learning setup: phone or existing camera, indirect light, helper or tripod, careful review
- Dedicated art setup: camera, true macro lens, sturdy support, movable photographic lights, remote release and color reference
- Client studio: repeatable subject support, tethered capture, backup equipment, calibrated editing and documented privacy workflow
Stop guessing — measure it
Photo-based color percentages, rarity score, and a shareable Iris Card in 60 seconds. Private: your photo never leaves your device.
Analyze My Eye Color FreeTurn consistent captures into a studio workflow
Measure visible iris color, generate branded client reports and export gallery-ready artwork with Iris Studio.
Explore Iris StudioFrequently asked questions
What lens is best for iris photography?
A true macro lens that provides strong close-focus detail and a practical working distance. The exact focal length depends on sensor size, studio space and how you position lights; test the complete setup rather than choosing from focal length alone.
Do I need a ring light?
No. A ring light is compact and produces a recognizable circular reflection, but movable diffused lights offer more control over where reflections fall. Use photography lights according to their manufacturer guidance.
Do I need a full-frame camera?
No. Lens sharpness, magnification, focus, stability and lighting usually matter more than sensor format. A well-controlled smaller-sensor setup can produce excellent iris artwork.
Should an iris studio shoot RAW?
RAW is useful for professional work because it preserves more tonal and color adjustment latitude. You can still create JPEG previews for selection, but retain the RAW file through editing and delivery.