
How to Photograph Your Iris With a Phone
A careful, no-special-gear method for a clean close-up eye photo.
What you need
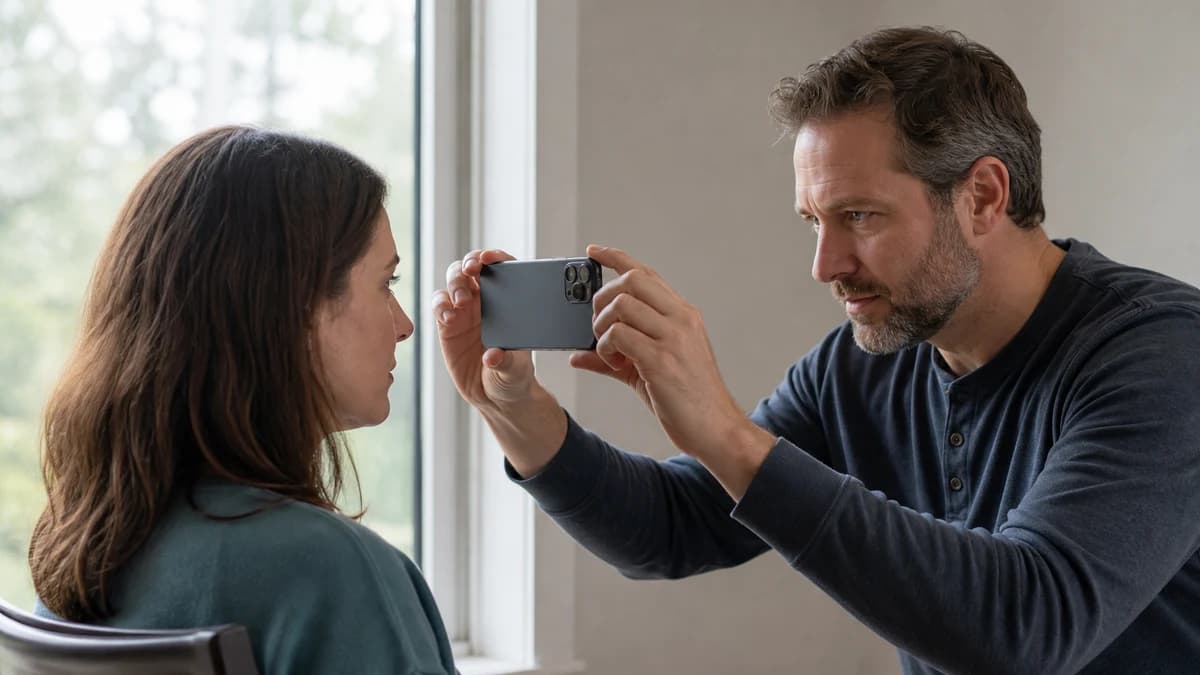
Use a phone with a clean rear camera lens, a bright window with indirect daylight and, ideally, a helper. The helper can see the screen, hold a stable distance and confirm that the iris—not the eyelashes—is in focus.
You do not need to press the phone close to the face. Start with a comfortable gap and use the camera's native macro mode or modest optical zoom if available.
- A clean rear camera lens
- Indirect daylight near a window
- A chair and a steady helper
- A plain, uncluttered background
- A few minutes to capture and review several frames
Set up the light
Face the subject toward a bright window without putting direct sun in their eyes. Soft side light often reveals texture while keeping the pupil reasonably small. Turn off strongly colored room lights so they do not push the image toward orange, green or blue.
Watch the live preview for a large white reflection covering the iris. Move the phone or turn the face by a few degrees until the reflection shifts away from the detail you want to capture.
Frame and focus
Use the rear camera because it is usually sharper than the selfie camera. Ask the subject to look toward the lens or just beside it, then center the iris. Tap the iris on screen to focus and hold the phone with both hands.
If macro mode repeatedly hunts, move back slightly and crop later. A smaller, genuinely sharp iris is more useful than a frame that fills the screen but is blurred.
- Keep the entire iris and pupil visible
- Focus on the colored texture, not the lashes
- Avoid digital zoom when it only enlarges pixels
- Take several photos while the eye is comfortably open
Review before you finish
Zoom into each photo and inspect the iris edge, pupil edge and radial lines. Reject frames with motion blur, smeared detail, heavy reflections or lashes covering a large part of the iris.
Keep two or three strong candidates. Small changes in angle and exposure can affect visible color, so a short sequence gives you a more reliable choice than a single shot.
Edit lightly
Crop around one eye, straighten the frame and make modest exposure or white-balance corrections. Avoid filters that change hue, extreme clarity that creates halos or automatic eye-enhancement effects that invent texture.
Keep an untouched original alongside the edited version. That gives you a reference if you later create art or compare visible color.
Comfort and limitations
Do not use improvised high-output lights, lasers or ultraviolet sources. Keep the session short and comfortable, follow your device manufacturer's guidance and stop if the subject experiences pain or distress.
This method creates an artistic or color reference, not a medical image. Contact an eye-care professional for pain, injury, sudden vision changes or a new visible change in an eye.
Stop guessing — measure it
Photo-based color percentages, rarity score, and a shareable Iris Card in 60 seconds. Private: your photo never leaves your device.
Analyze My Eye Color FreeTurn consistent captures into a studio workflow
Measure visible iris color, generate branded client reports and export gallery-ready artwork with Iris Studio.
Explore Iris StudioFrequently asked questions
Should I use the front or rear phone camera?
Use the rear camera when possible. It usually has better optics, focus and resolution. A helper makes it much easier to frame the eye while using that camera.
Why will my phone not focus on the iris?
You may be inside the lens's minimum focus distance. Move back until the texture becomes sharp, tap the iris to focus and crop afterward. Also clean the lens and add more indirect light.
Can I use a clip-on macro lens?
Yes, if it is designed for your phone and used according to its instructions. Alignment is critical: center the accessory over the correct camera and check the frame for soft edges or distortion.
Is a phone iris photo suitable for an eye diagnosis?
No. A consumer phone photo and this guide are not substitutes for an eye examination or clinical imaging. Seek qualified care for eye-health concerns.