
Iris Photography Camera Settings and Lighting
Repeatable starting points for sharp texture, controlled reflections and consistent color.
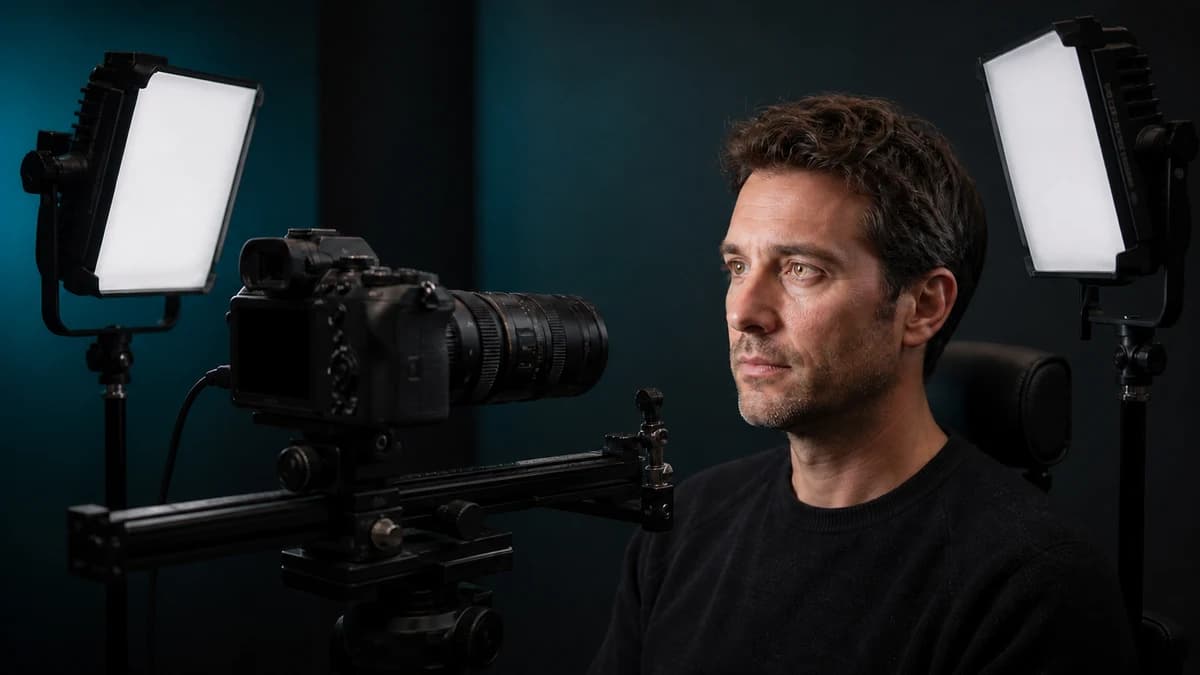
Start with a repeatable baseline
There is no universal iris-photography exposure. Magnification, lens, sensor, light output and whether the subject is handheld or supported all change the result. Treat settings as starting points, then test at full magnification.
In manual exposure mode, keep ISO near the clean end of your camera's range, choose an aperture that gives enough depth of field and adjust shutter speed or photographic light output to complete the exposure.
Aperture and macro depth of field
Depth of field becomes extremely thin at close focus. A moderately small aperture can keep more iris texture sharp, but stopping down too far introduces diffraction and demands more light. Begin around the middle-to-small aperture range of your macro lens, inspect the file and adjust for your camera.
Focus on visible iris texture rather than eyelashes. If the curved iris still falls outside the sharp plane, improve alignment and stability before simply closing the aperture further.
Shutter speed and ISO
With continuous light, choose a shutter speed fast enough to limit small camera and subject movements. A tripod stabilizes the camera but not blinking or natural head movement. Raise ISO only as much as needed after improving support and light.
With manufacturer-approved flash equipment, flash duration may help freeze movement, while shutter speed must remain within the camera's synchronization limits. Bright-light sensitivity varies, so explain the process and keep the session comfortable.
Focus and capture technique
Use magnified live view, tethered preview or focus peaking if your camera provides it. Manual focus can be more predictable at high magnification: set the lens, then move the camera on a focusing rail by tiny amounts until the iris texture is crisp.
Capture a short burst or several deliberate frames. Refocus after the subject changes posture, and review actual pixels before moving on.
White balance, RAW and color reference
Shoot RAW when color consistency and print output matter. Set a fixed white balance for the session rather than letting automatic white balance reinterpret each frame, and photograph a neutral target under the same light when practical.
White balance creates consistency; it does not reveal one absolute color independent of lighting and display. Keep the original capture, record your lighting setup and apply the same base correction across related images.
Shape and move reflections
Every light source can appear as a catchlight on the moist surface in front of the iris. Change light height, side position, diffusion and camera angle in small increments while maintaining a comfortable subject position.
Aim to keep important texture visible rather than promising a reflection-free frame. Removing every natural highlight in editing can make the result look flat or artificial.
A pre-session test checklist
Photograph a willing test subject before using a new setup with clients and examine the files on the monitor used for editing.
- Confirm the pupil and iris edge are visible and sharp
- Check both bright and dark texture for clipping
- Confirm reflections do not cover the key detail
- Verify fixed white balance and color-reference capture
- Test client posture, light comfort and a clear stop signal
- Save the working distance, light positions and camera settings
Stop guessing — measure it
Photo-based color percentages, rarity score, and a shareable Iris Card in 60 seconds. Private: your photo never leaves your device.
Analyze My Eye Color FreeTurn consistent captures into a studio workflow
Measure visible iris color, generate branded client reports and export gallery-ready artwork with Iris Studio.
Explore Iris StudioFrequently asked questions
What aperture should I use for iris photography?
Use a moderately small aperture as a starting point, then test for your lens, sensor and magnification. You need enough depth of field for the curved iris without stopping down so far that diffraction noticeably softens the texture.
Should I use autofocus or manual focus?
Either can work, but manual focus with magnified live view or a focusing rail is often more predictable at high magnification. Always verify sharpness on the iris texture at actual pixels.
Is continuous light better than flash?
Neither is universally better. Continuous light makes the result easy to preview; flash can provide more exposure and freeze movement. Use equipment intended for photography according to manufacturer guidance, and choose a comfortable, repeatable workflow.
How do I keep iris color consistent between clients?
Lock the lighting positions, exposure approach and white balance; include a neutral reference; shoot RAW; calibrate the editing display; and apply a documented base correction before creative grading.